Introduction
One of the many first steps when venturing into doing Data Science is to have access to a Unix/Linux/Ubuntu OS.
But having a Windows OS and wanting to setup and run this hardcore geeky OS might be challenging.
In this blog, I will show a very quick and a simple way of setting up a Linux Subsystem in your Windows OS that I learned from Jeremy Howard! If you wish to follow along, you will have a complete full fledge Linux OS running in your Windows in the next 3-5 minutes. No complicated hacking stuff, no dual booting, no splitting of your computer into two halves using a light beam, none of that stuff. And if you are wondering if you will lose all the Windows features, don’t worry, you won’t.
Let us get started!

Step 0: Getting A Terminal
We will need a terminal handy right after we are done setting up Linux! There are many options to choose from. Let us download and install the Windows Terminal from the Microsoft Store before proceeding.
Press the “⊞” key and type “store”.
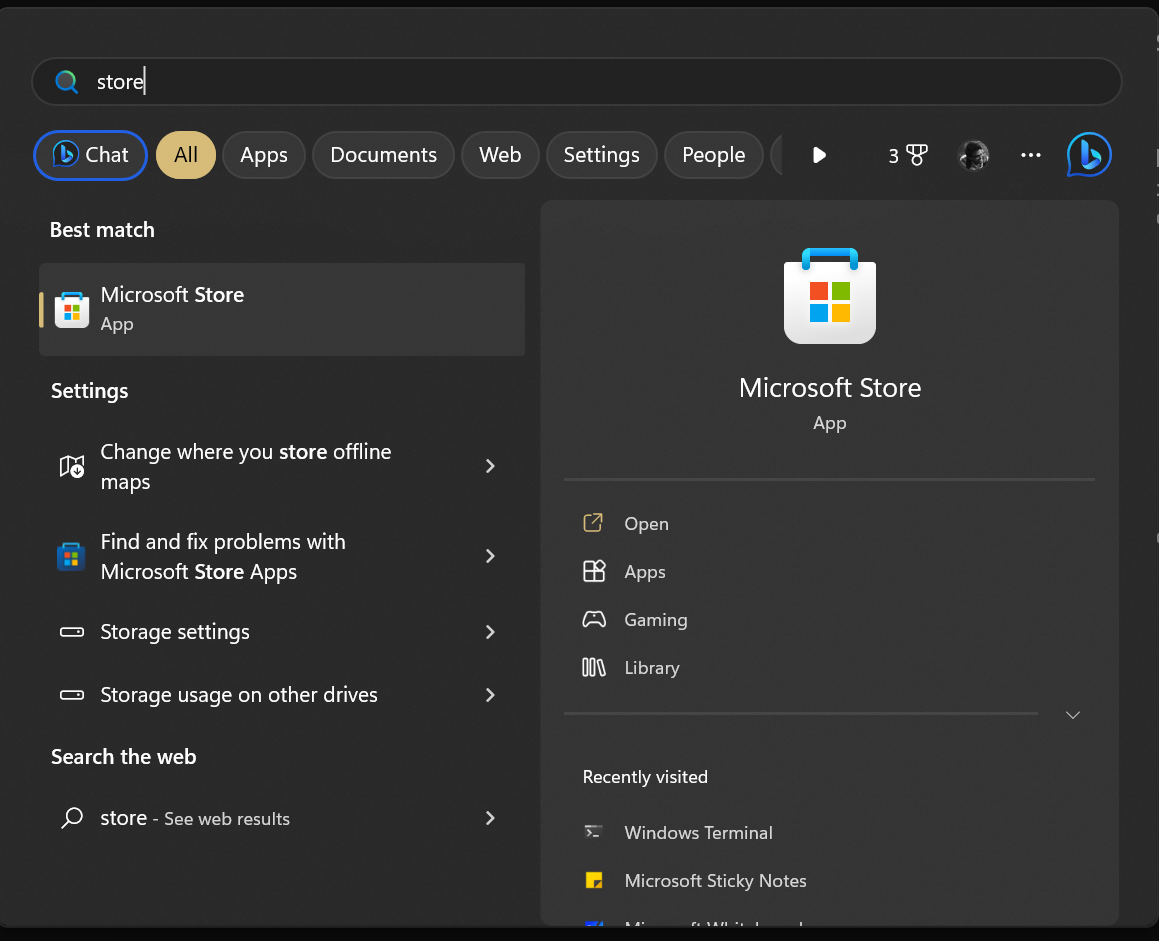
Microsoft Store search Open the Microsoft Store and search for “windows terminal”.
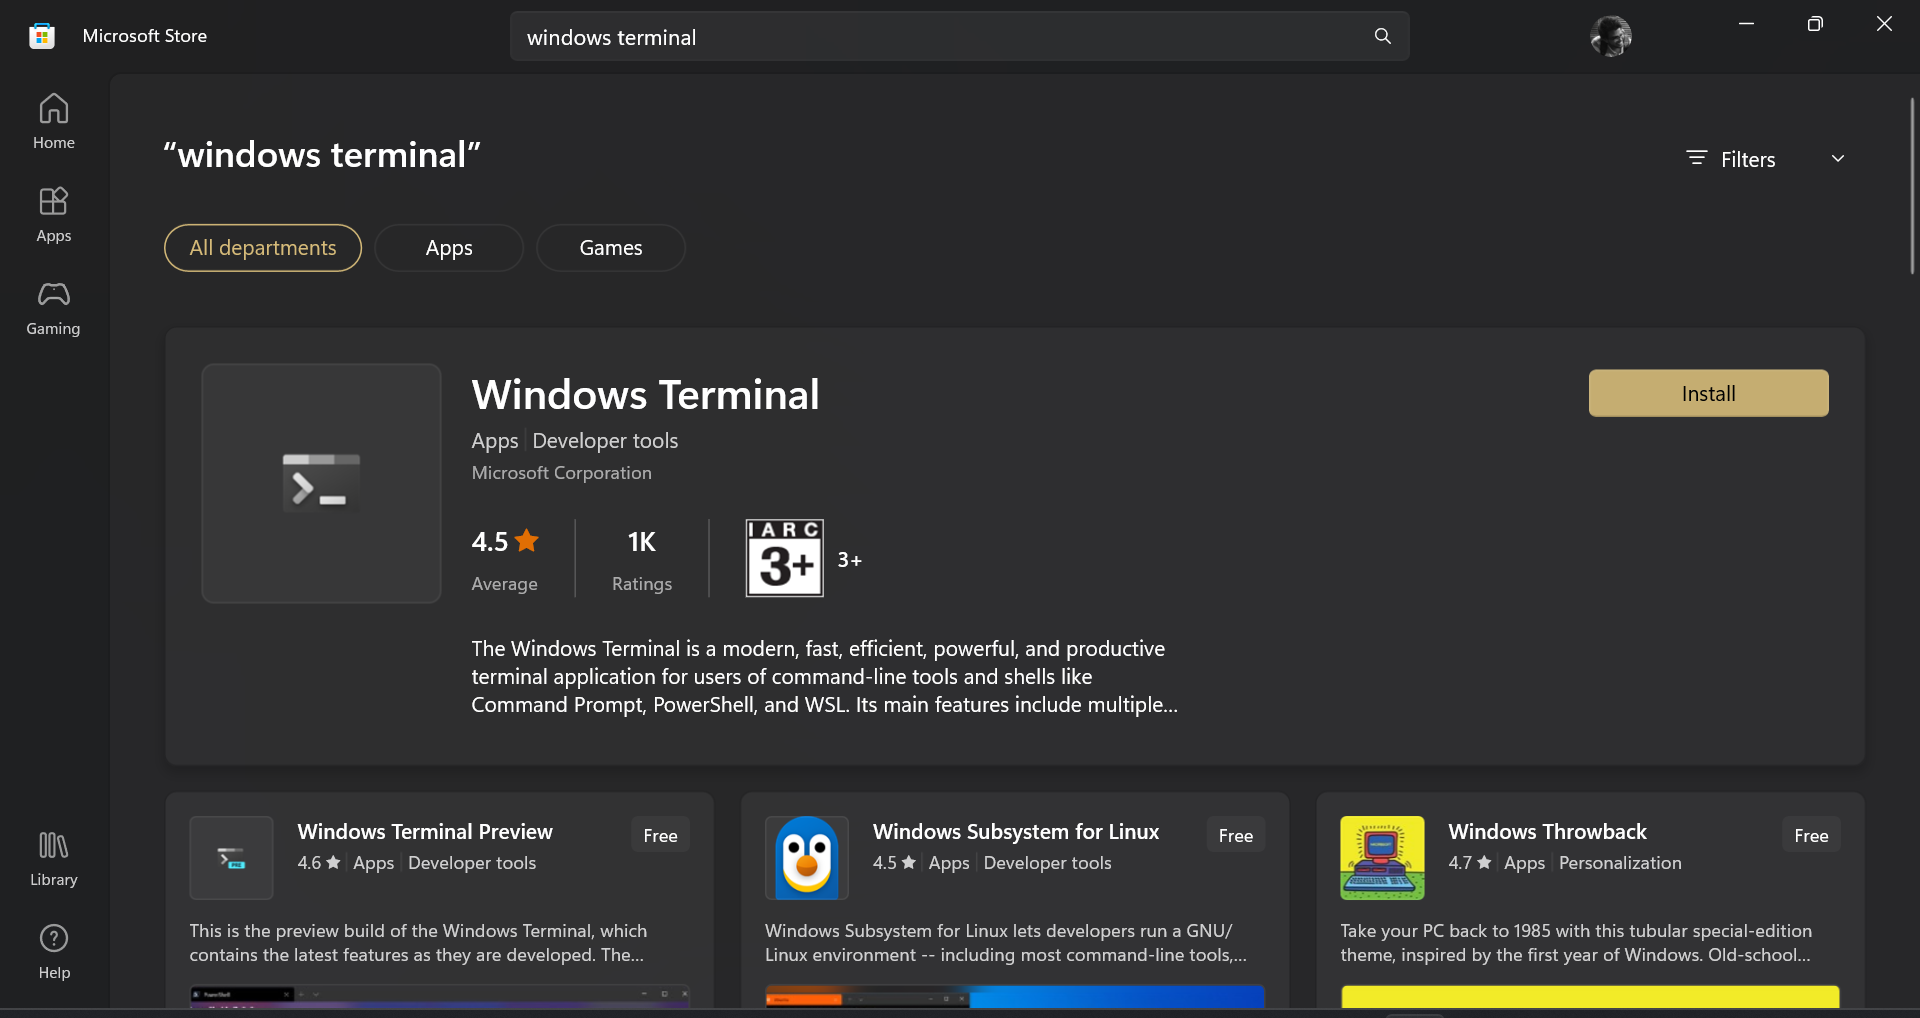
Download & install Windows Terminal Download, and install it. We will use this soon!
Step 1: Getting the Linux Subsystem
We will be setting up our subsystem from the Windows Powershell application.
Press the “⊞” key button and search for “powershell”.
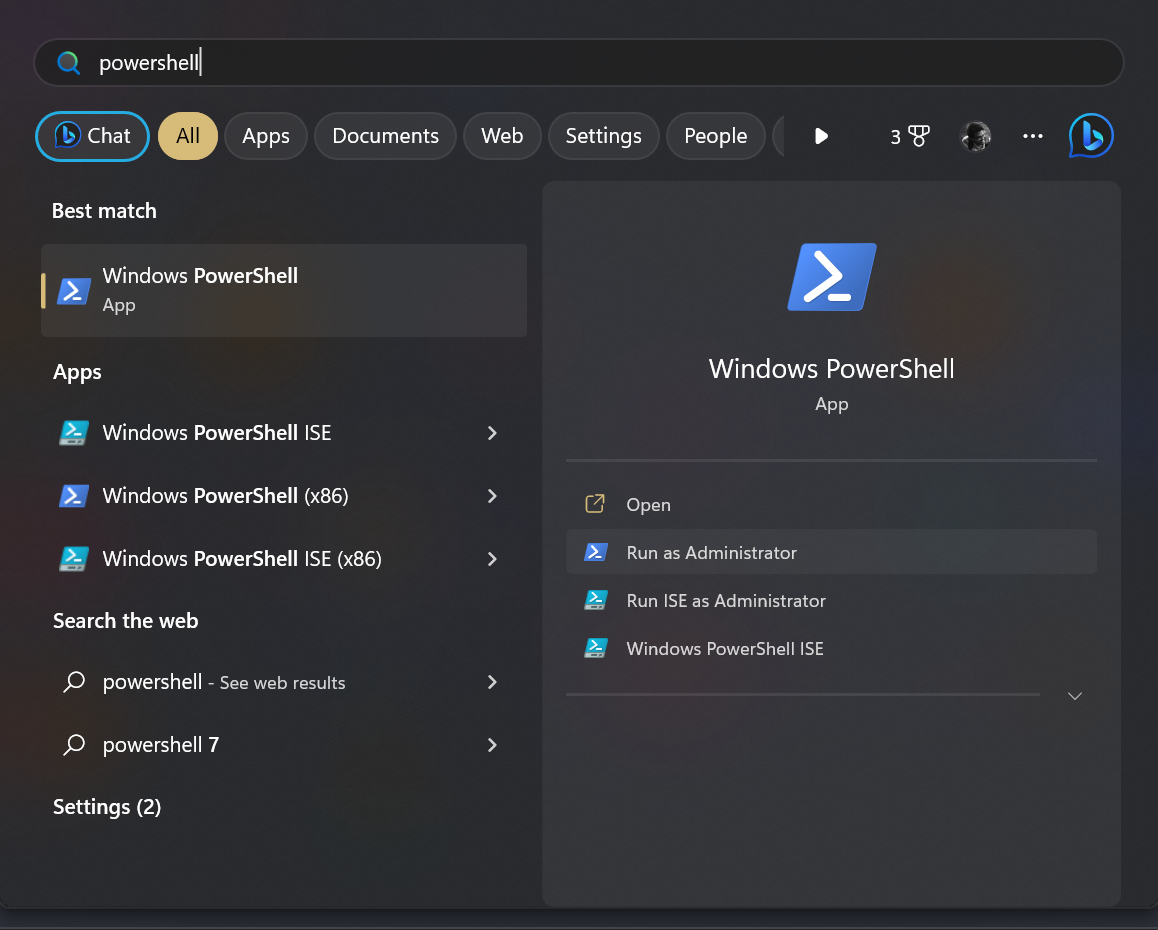
Powershell search Click on Run as Administrator. It will prompt to verify. Click Yes.
Once you are inside the Windows Powershell, type the
wsl --installcommand and press “⏎”.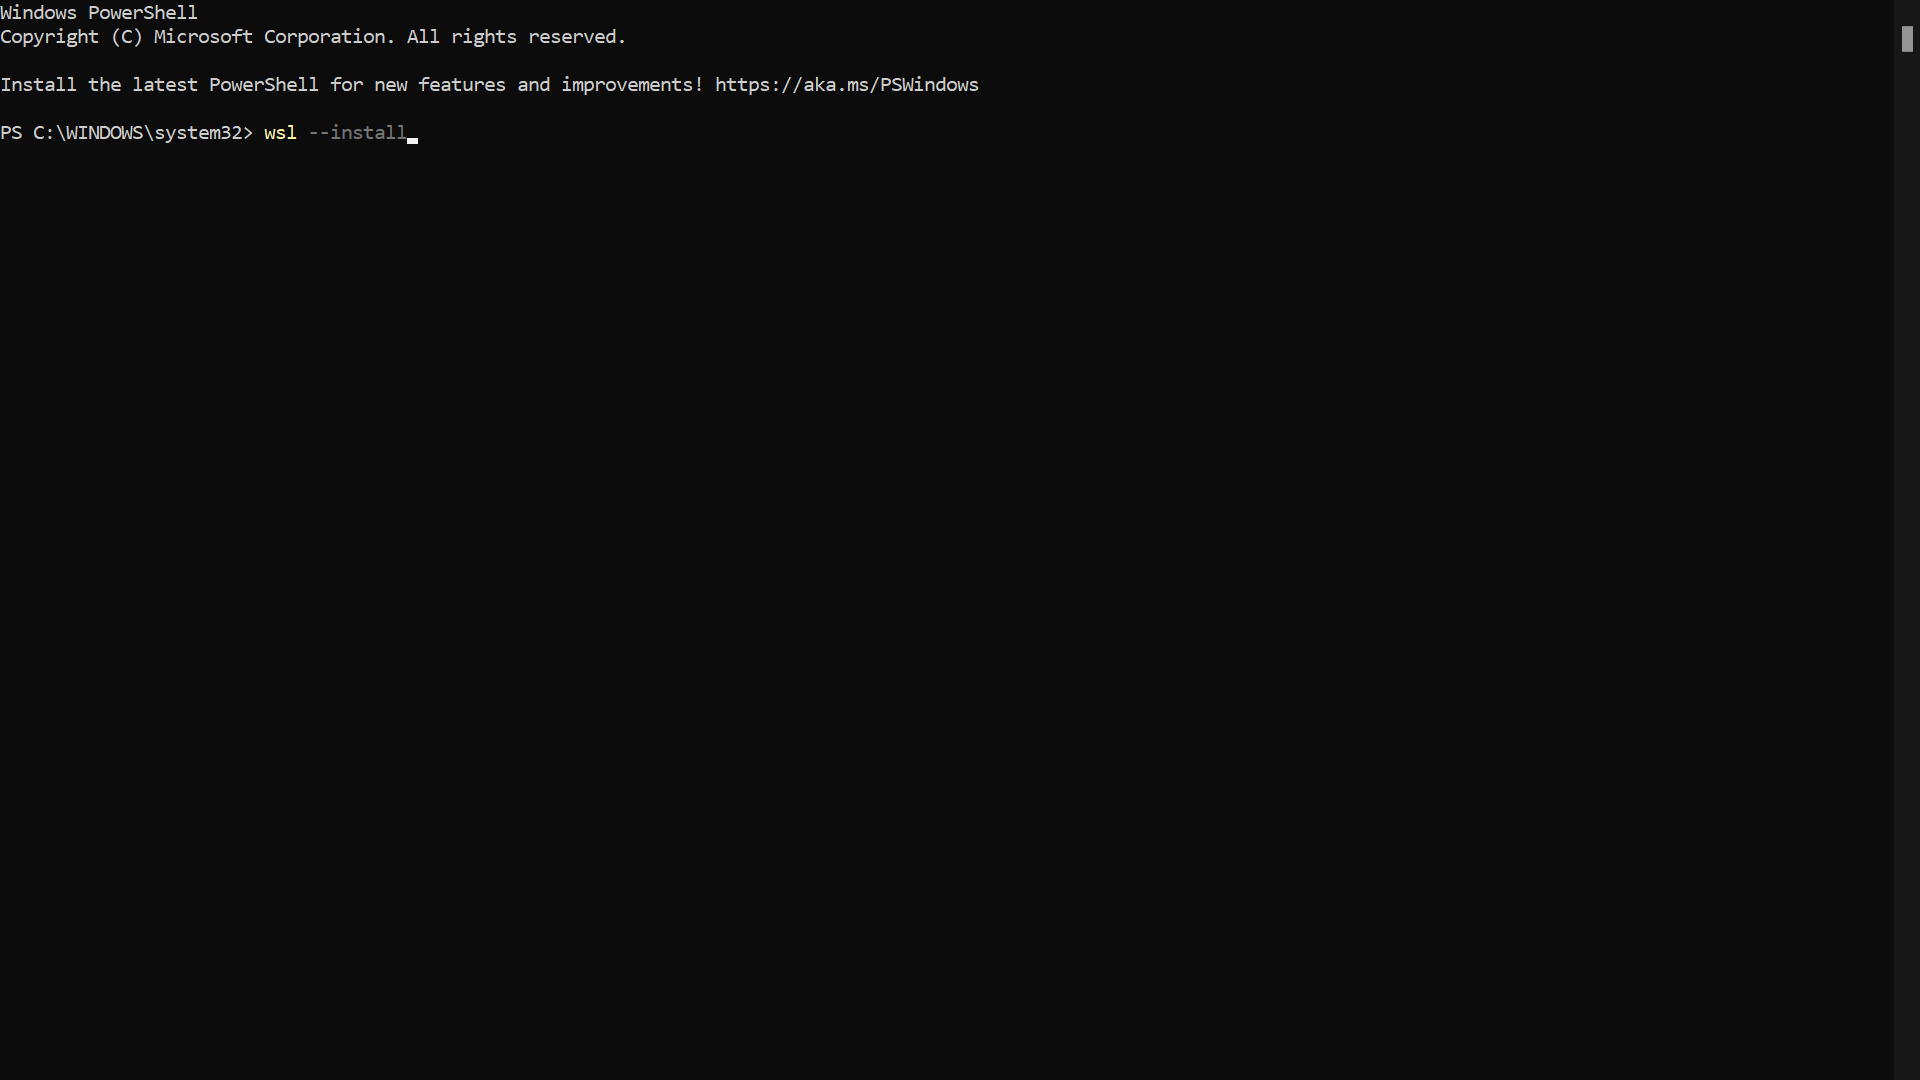
wsl-command This will download and install 2 things, the Windows Subsystem for Linux and Ubuntu as shown below. To take effect we need to reboot our system.
After the installation is done, close all the files and applications, and restart the computer.
Step 2: Hello, Linux
Upon restarting your computer a powershell window will pop up automatically, welcoming you and launching the Linux Subsystem. Once it is launched, it will ask to set up a username and a password. This is like a new computer that is running!
Put a username and a password and you are done!
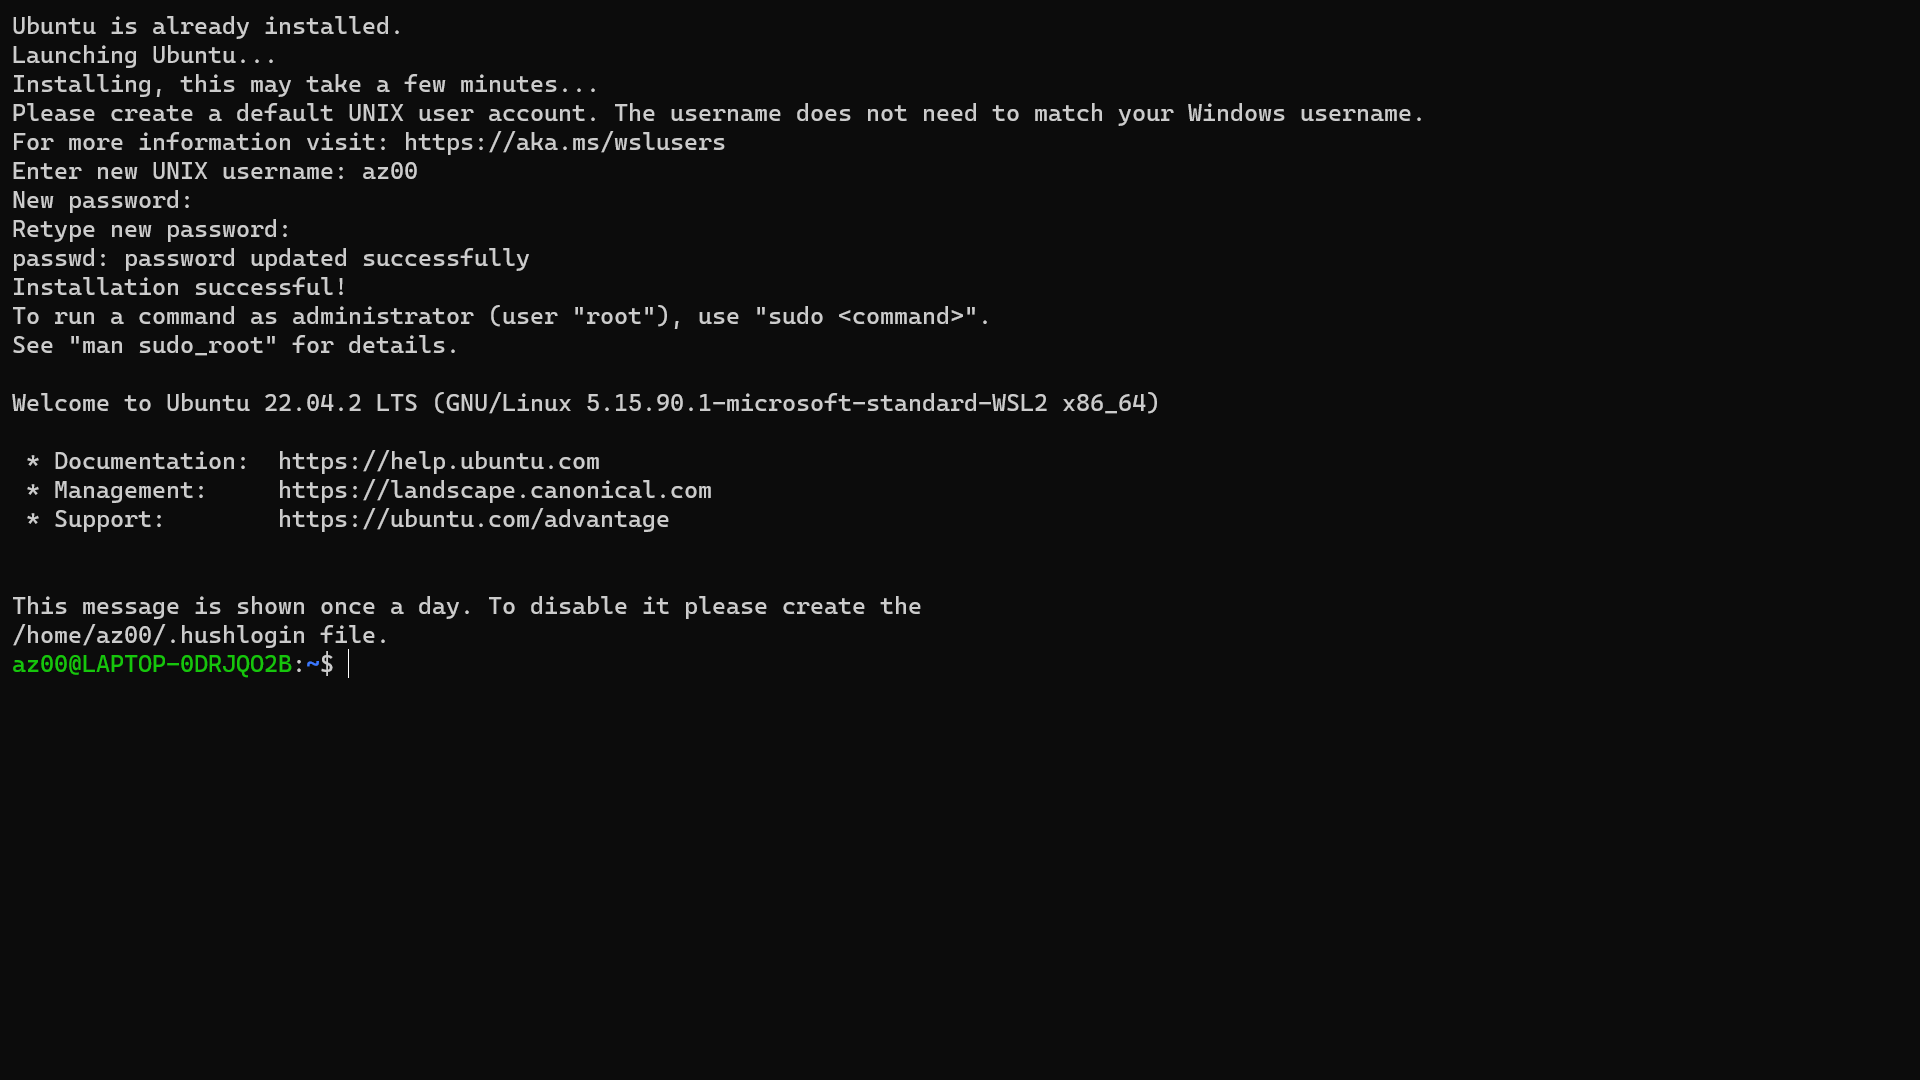
All set
What you have now is a full fledged Linux Subsystem running in your Windows.
Step 3: Accessing Linux
Remember that Windows Terminal we kept ready at the beginning?! We will be using that to acsess our Linux CLI.
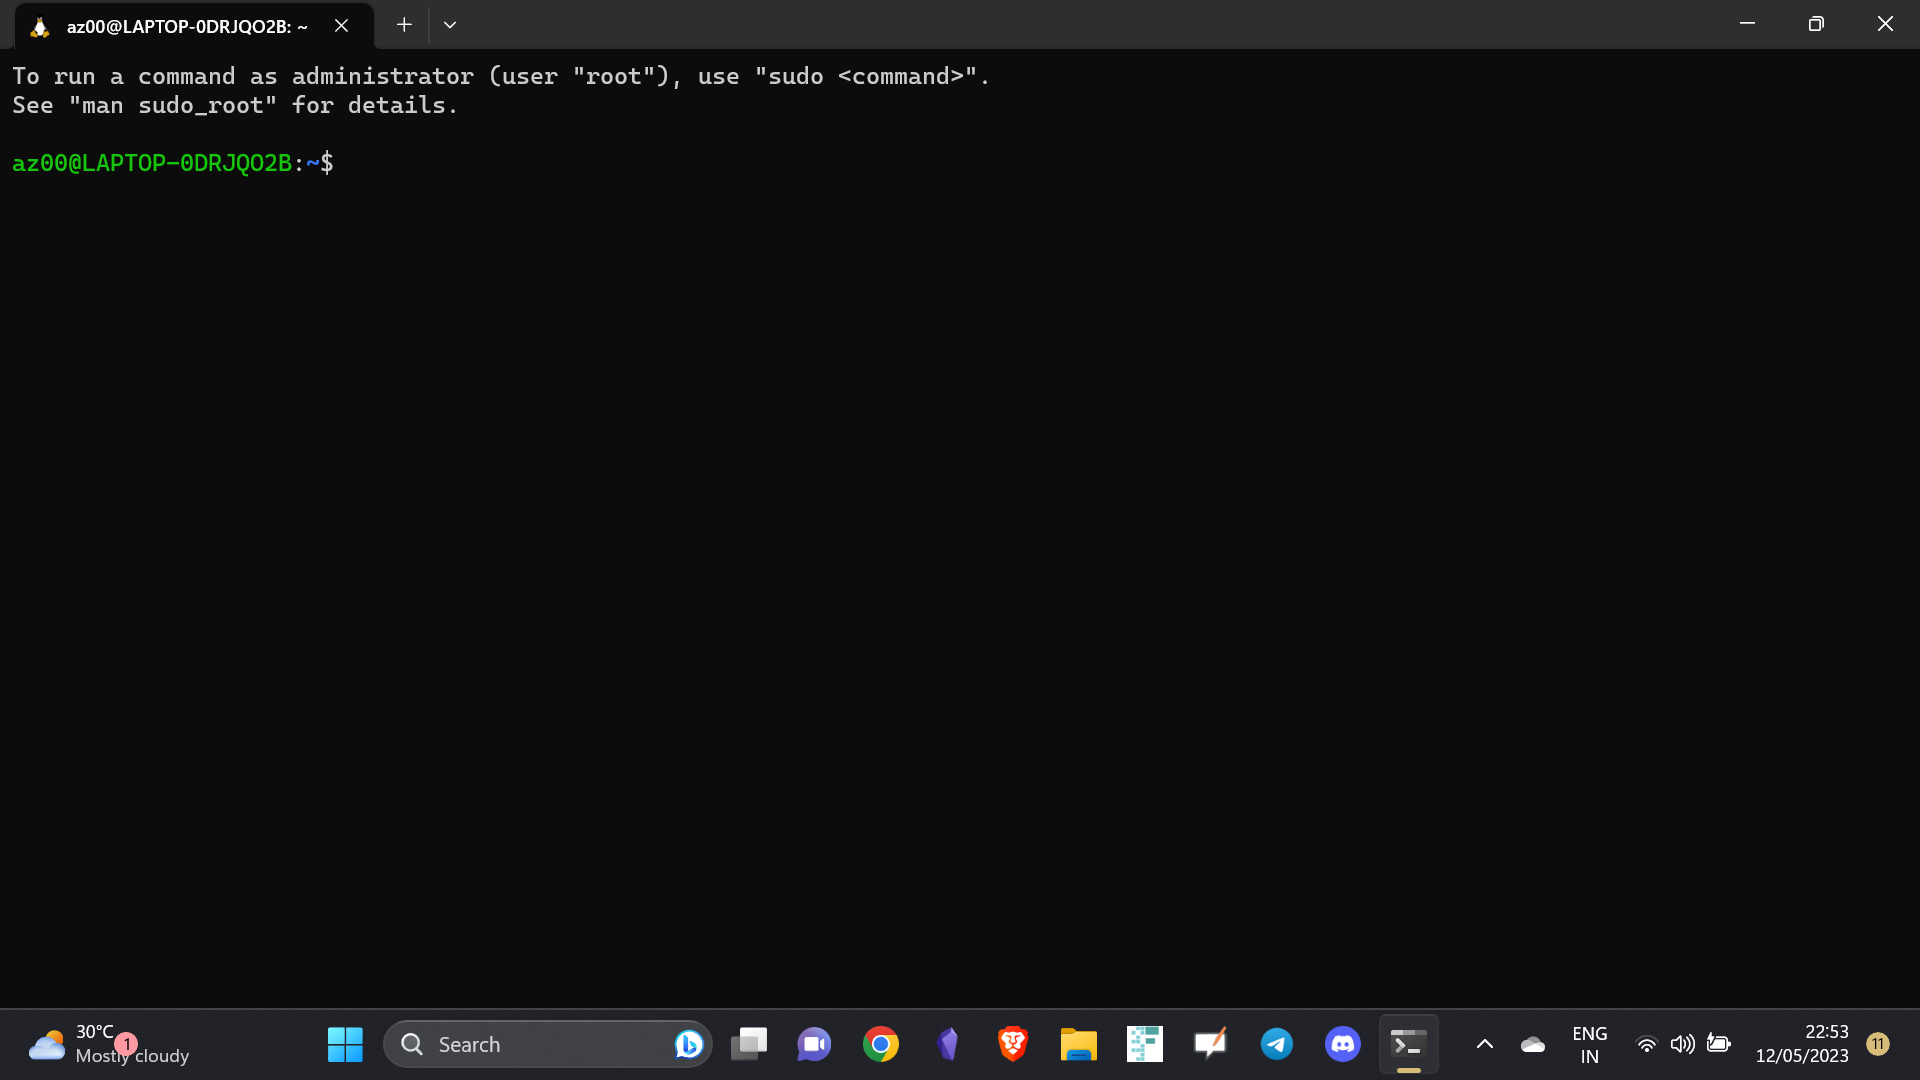
Open the Windows Terminal. By default, the Windows Powershell will run.
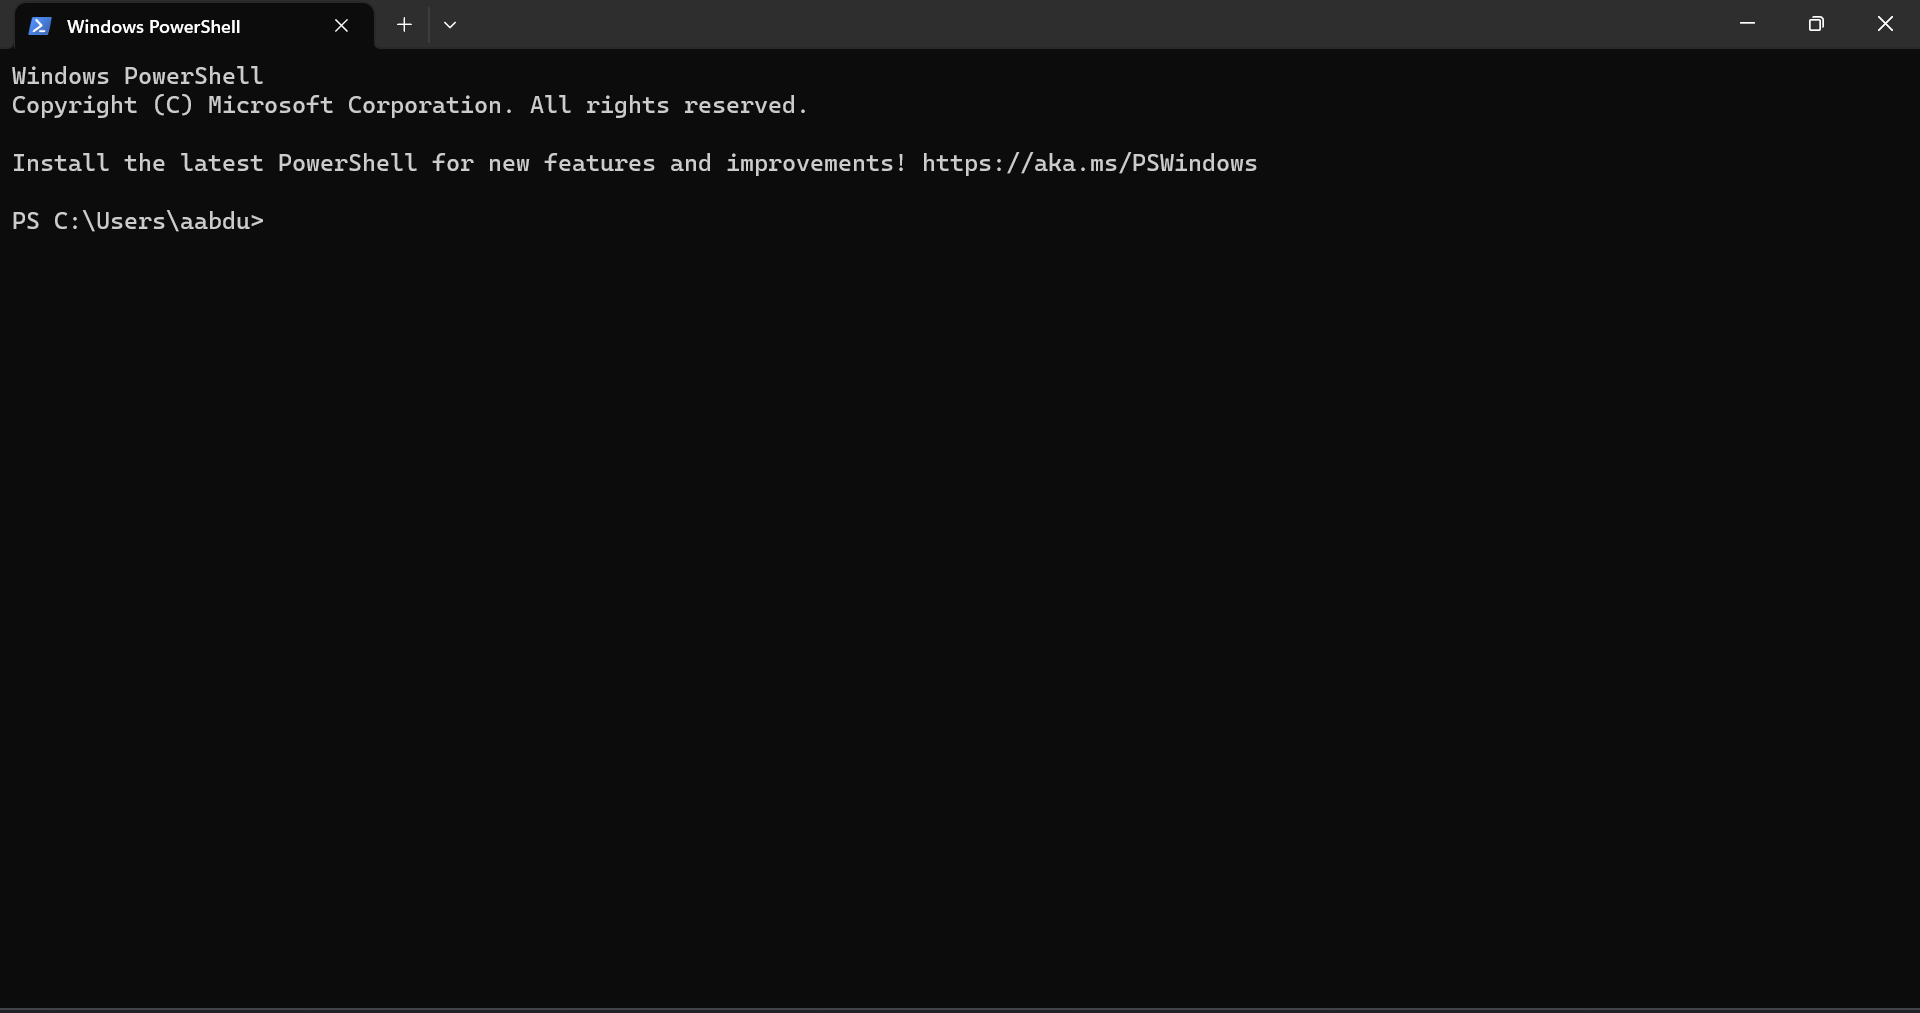
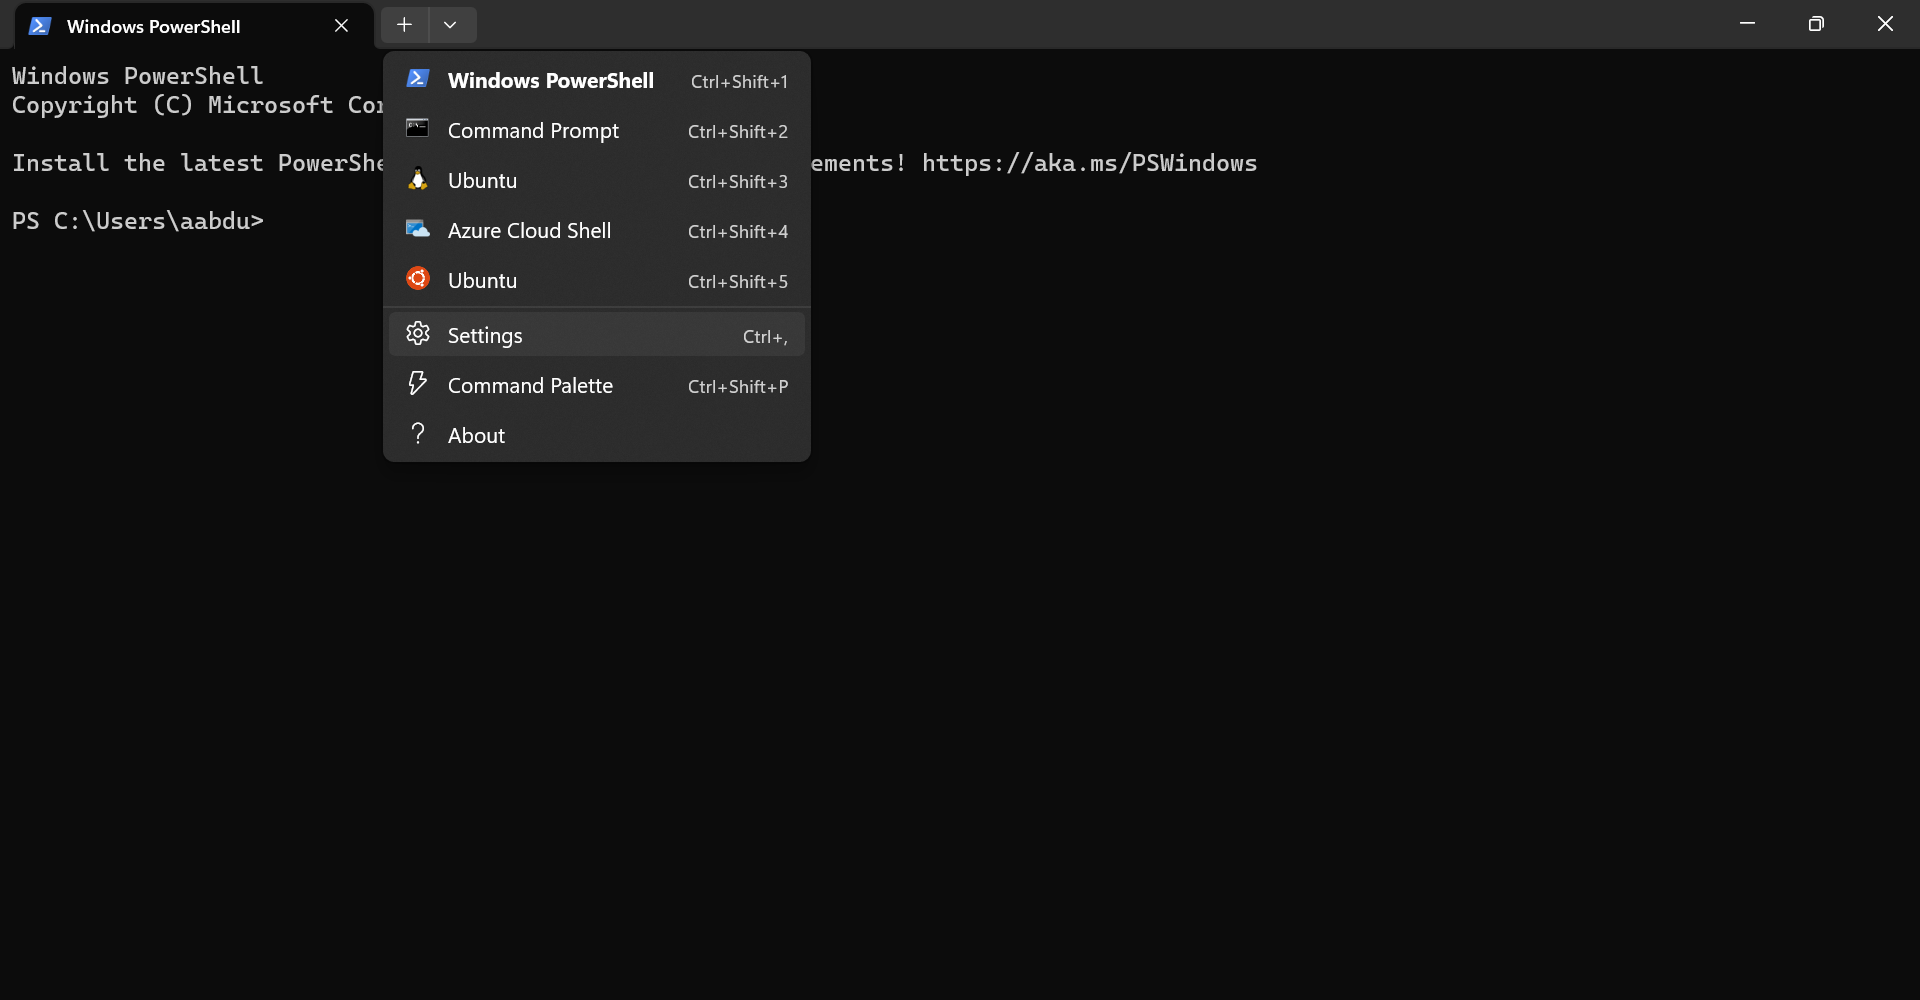
Powershell as default There will be a little arrown pointing as shown. Click it, and will show the list of options we can select from. To get Linux, we will have to select manually from this list. Instead, let us setup Linux as the default profile whenever we open our Windows Terminal. To do that and go to Settings.
Settings Make Linux or Ubuntu as the default one.
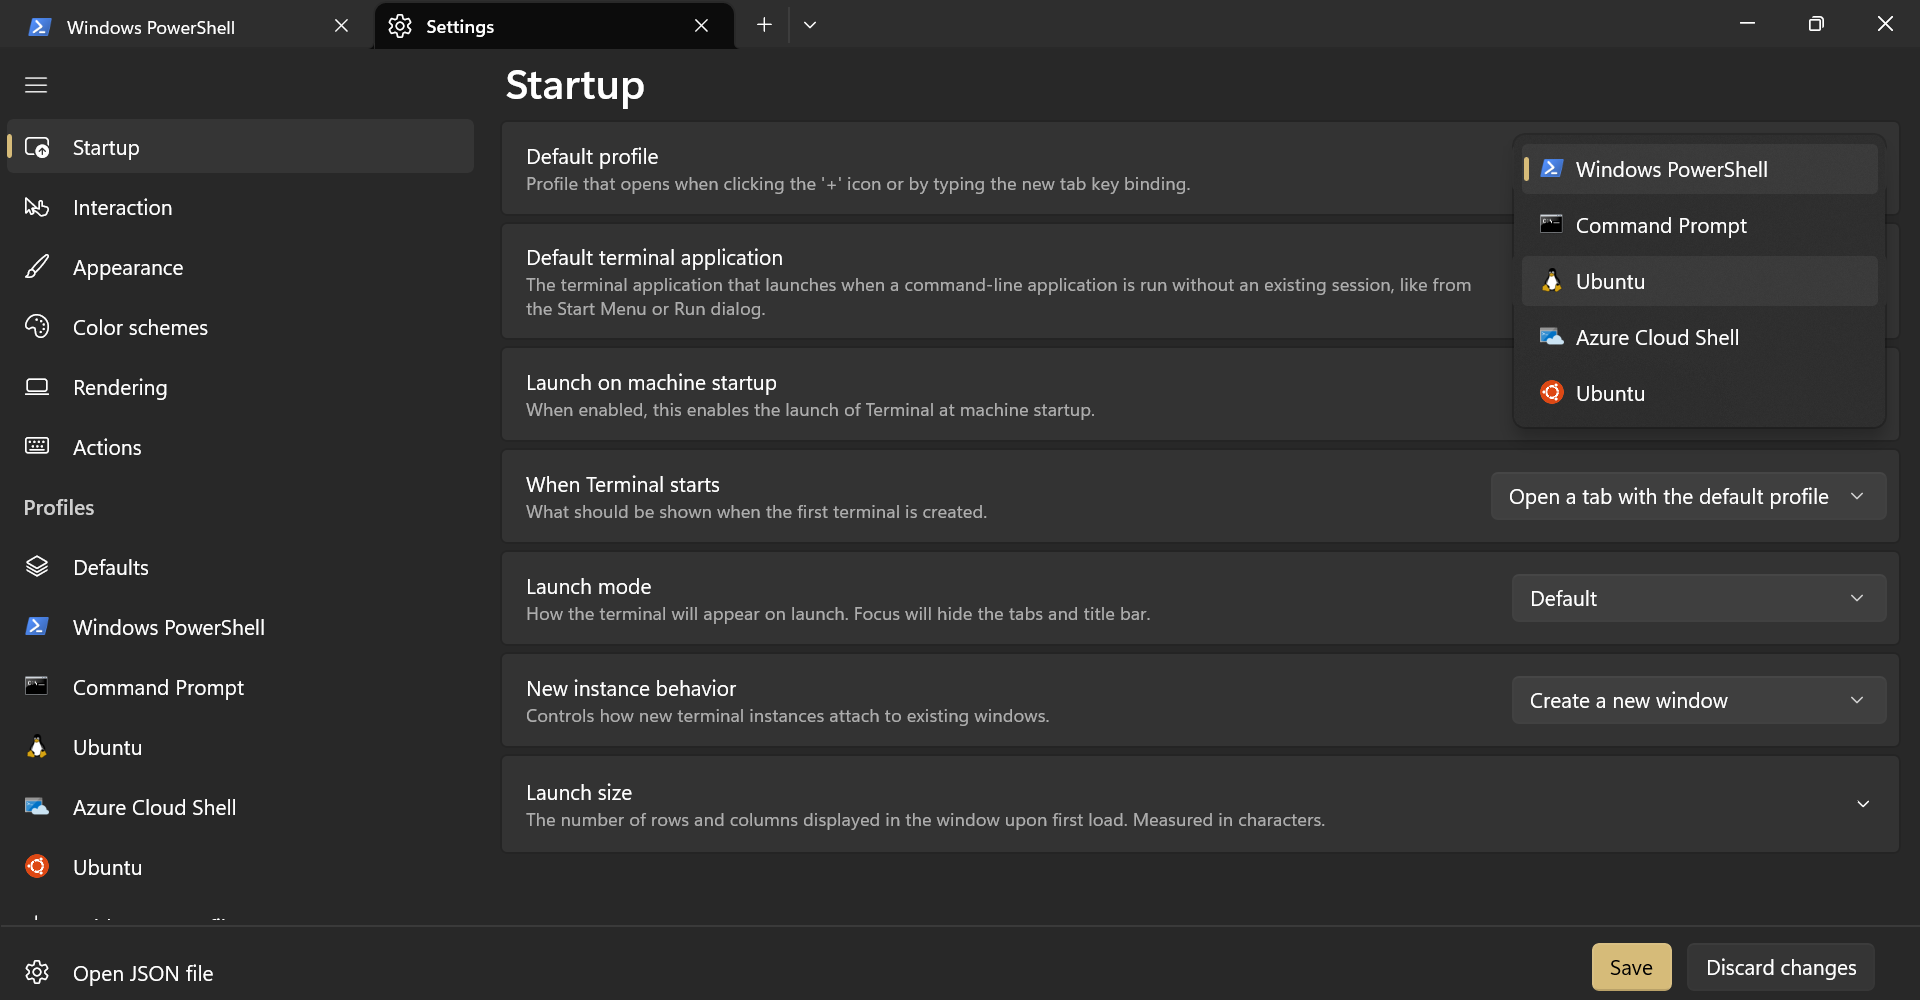
making Linux/Ubuntu as default
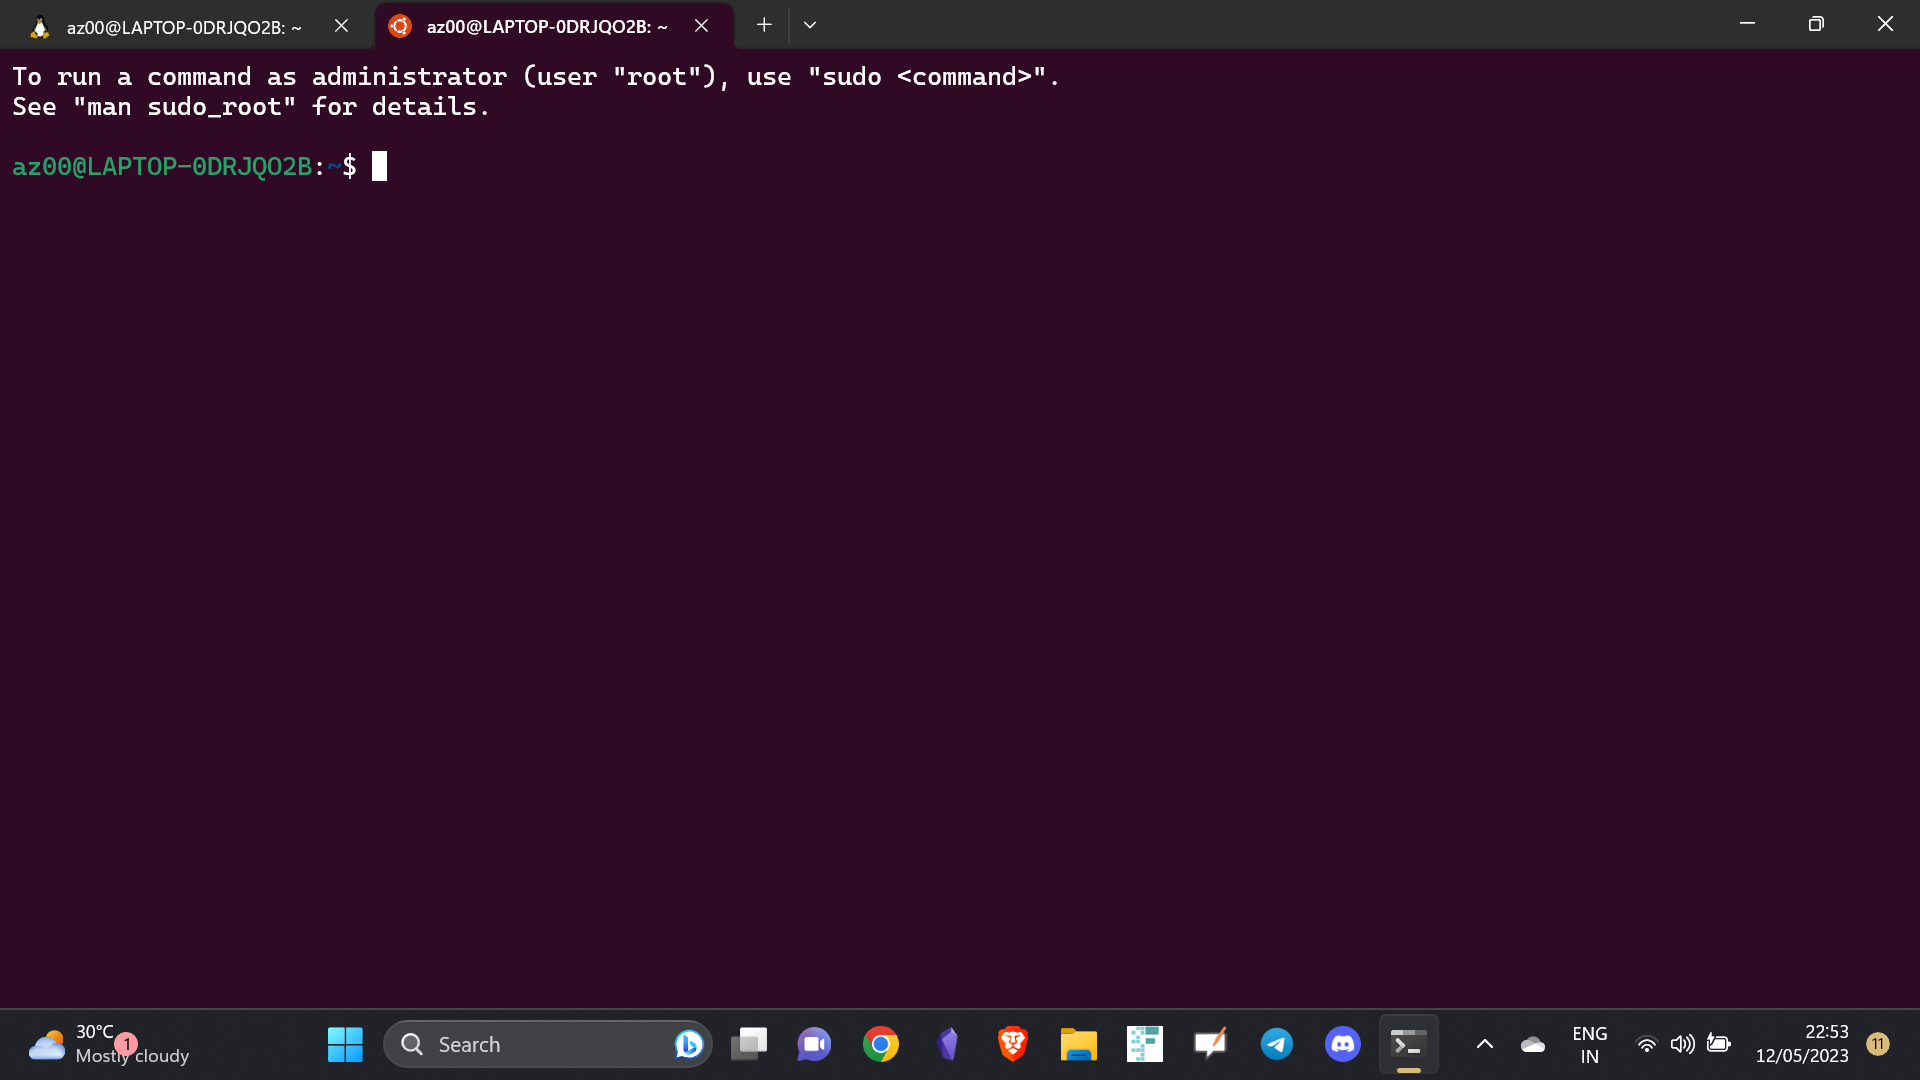
Next time you open the Windows Terminal, it will welcome you with Linux/Ubuntu.
Explore
You are all set to dwell into the Linux metaverse! If you are new to Linux, check out some tutorials, like this one to learn about it.